How to Cover Tile Walls in Bathroom Efficiently and Professionally
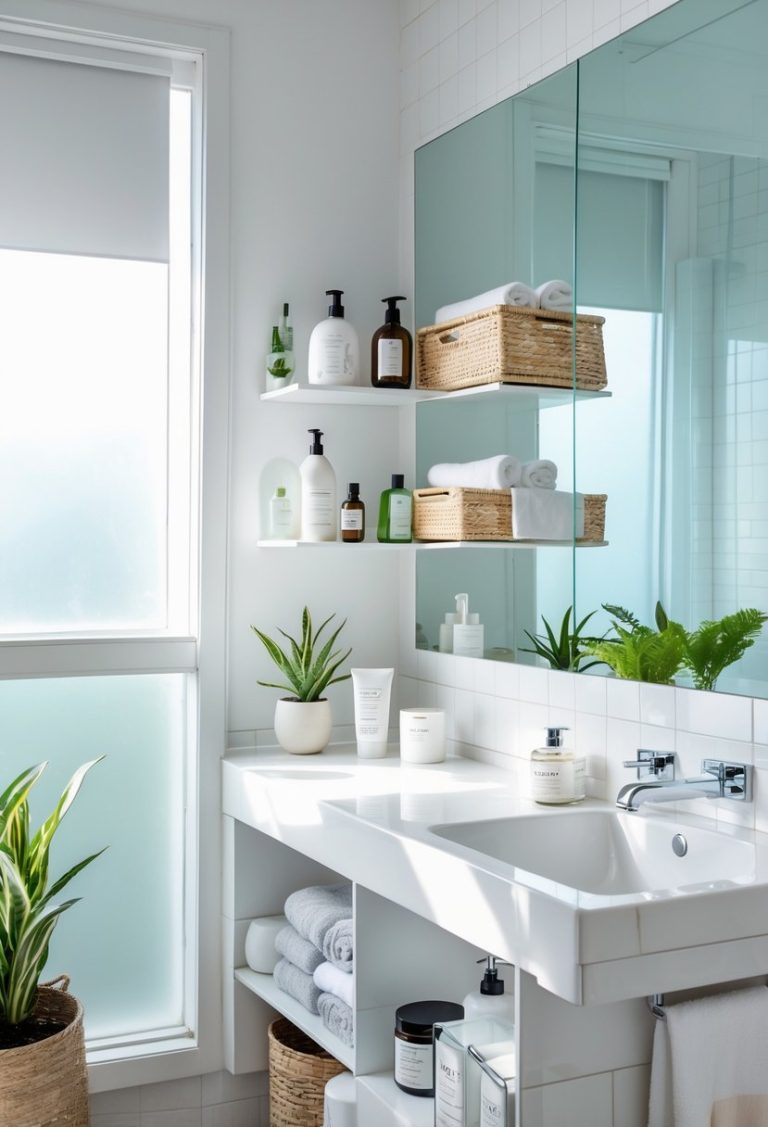
If you want to update your bathroom without the hassle and cost of removing old tiles, covering them is a smart choice. You can easily cover tile walls with options like peel-and-stick vinyl tiles, tile decals, or paneling that attach right over your existing tiles. This saves time and effort while giving your bathroom a fresh new look.
I’ve found that these methods work well because they don’t require heavy tools or expert skills. Whether you want a modern wood look or a simple color change, there are easy solutions that fit different styles and budgets. Covering tile walls can be a quick way to transform your bathroom without major renovation.
Preparation for Covering Tile Walls
Before covering tile walls, I make sure the surface is clean and in good condition. I gather the right tools and materials. I also protect nearby fixtures to keep them safe during the project.
Cleaning and Inspecting Tile Surfaces
First, I clean the tiles thoroughly using a strong surface cleaner. This removes grease, soap scum, and dirt. A clean surface helps the new covering stick better.
After cleaning, I inspect the tiles and grout for cracks or damage. If I find any broken tiles or loose grout, I fix those before moving on. Uneven or damaged areas can cause problems with whatever I’m applying on top.
Once clean and repaired, I let the tiles dry completely. Moisture under the covering can cause it to peel or mold.
Necessary Tools and Materials
I prepare the tools and materials based on the cover type I plan to use. For tile stickers, I need cleaning supplies, a squeegee, and a utility knife.
If I use wall panels, I gather a drill, screws, adhesive, silicone sealant, and a level. For tile paint, I prepare primer, paint, brushes, and painter’s tape.
Having everything ready saves me time. I keep all my tools nearby before starting the project.
Protecting Surrounding Fixtures
I cover fixtures like faucets, lights, and switches with painter’s tape or plastic sheeting. This prevents damage and keeps them clean.
I also lay down drop cloths on the floor and around the work area. This stops paint or adhesive drips from causing stains.
Taking these steps ensures the rest of the bathroom stays neat and untouched while I work on covering the tile walls.
Popular Methods to Cover Bathroom Tile Walls
There are several ways to update bathroom tile walls without removing them. You can change the look by painting, adding panels, using peel-and-stick products, or applying wallpaper or vinyl. Each method has its own steps and benefits depending on the condition of your tiles and your style preferences.
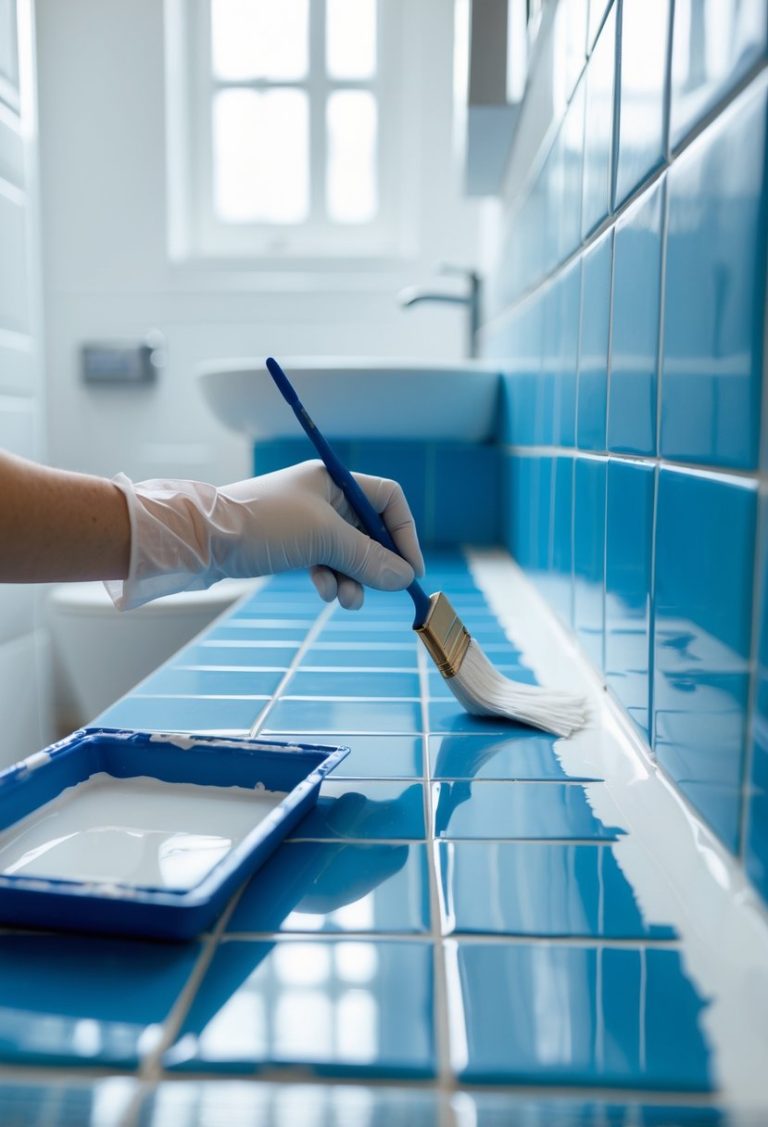
Painting Over Tile
Painting tile is a cost-effective way to refresh your bathroom walls. First, I clean the tiles thoroughly to remove dirt and grease. Then, I lightly sand the surface to help the paint stick better.
Next, I apply a primer made for glossy surfaces to stop peeling. After the primer dries, I use epoxy-based or enamel paint designed for tiles. These paints are water-resistant and durable.
Painting works best on smooth tiles that are in good shape. It adds color or a new finish without a big mess. The paint needs time to cure fully, usually a few days, before exposure to moisture.
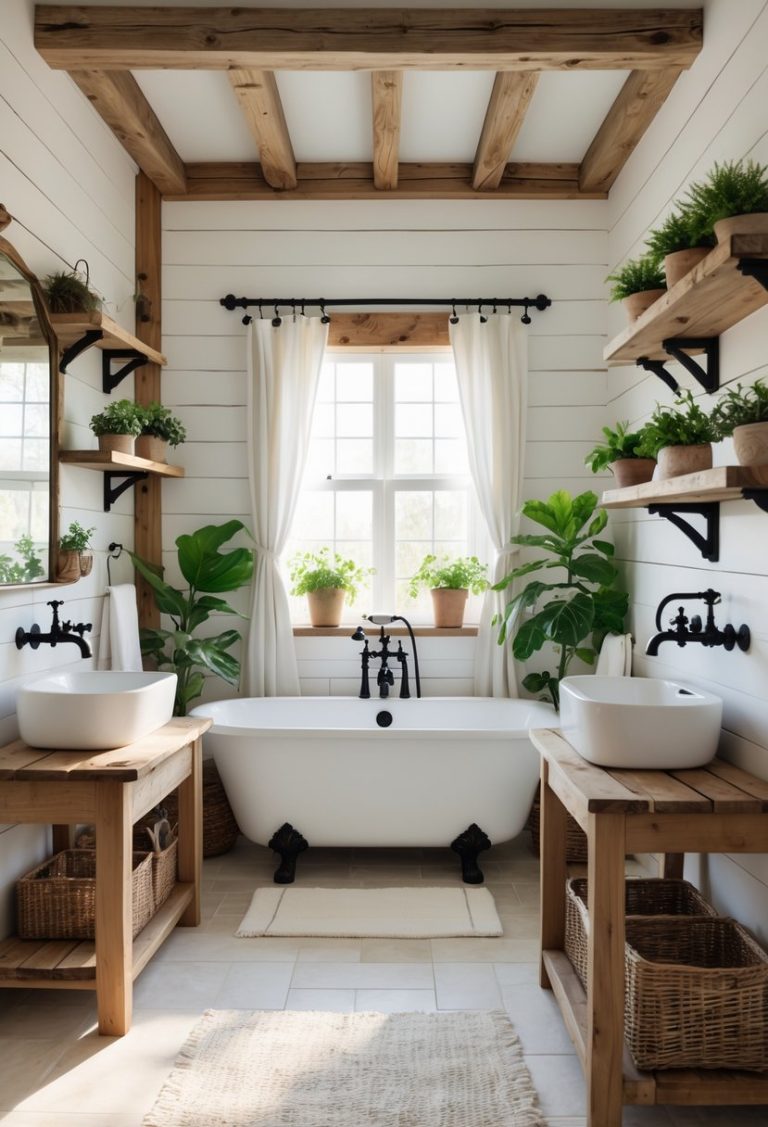
Installing Wall Panels
Wall panels are a great way to cover tile walls if you want something sturdy and moisture-resistant. I prefer panels made from PVC or acrylic because they resist humidity and are easy to clean.
To install, I first measure and cut the panels to fit the wall size. Then, I use special adhesive or screws to fix them over the tiles. Some panels come with interlocking edges for a seamless look.
Panels can mimic stone, wood, or tile patterns, creating a fresh style. They hide old tiles completely and protect walls from water damage. Installation is quicker than full tile removal but may need extra support for heavy panels.
Applying Peel-and-Stick Solutions
Peel-and-stick tiles or decals are popular because they are simple to install and remove. I make sure the original tile surface is clean and dry before applying these products.
They come in various designs, including patterns and solid colors. I just peel off the backing and press them onto the tile. These sticks hold well but are best for low-moisture areas or walls with indirect water contact.
This method is affordable and fast, perfect for a temporary refresh. However, the durability varies, and improper prep can cause peeling. It’s a great choice if I want a quick change without permanent work.
Using Wallpaper or Vinyl Coverings
Using wallpaper or vinyl designed for bathrooms can cover tile walls with style. I make sure to choose waterproof or moisture-resistant materials meant for high humidity.
Before applying, I clean and dry the tile surface well. I often use strong adhesive or an extra glue layer to ensure the wallpaper or vinyl sticks properly.
Vinyl coverings are easy to wipe clean and resist water damage better than regular wallpaper. They come in many colors and textures, adding personality to the bathroom.
This method requires careful installation to avoid bubbles or peeling edges over time. Proper prep and choosing the right product are key to success.
Step-by-Step Guides for Each Method
There are several ways to cover tile walls in a bathroom. Some methods involve painting, while others use panels or stick-on tiles. I will explain the key steps for each, focusing on what you need to do for a clean and lasting finish.
How to Paint Bathroom Tile Walls
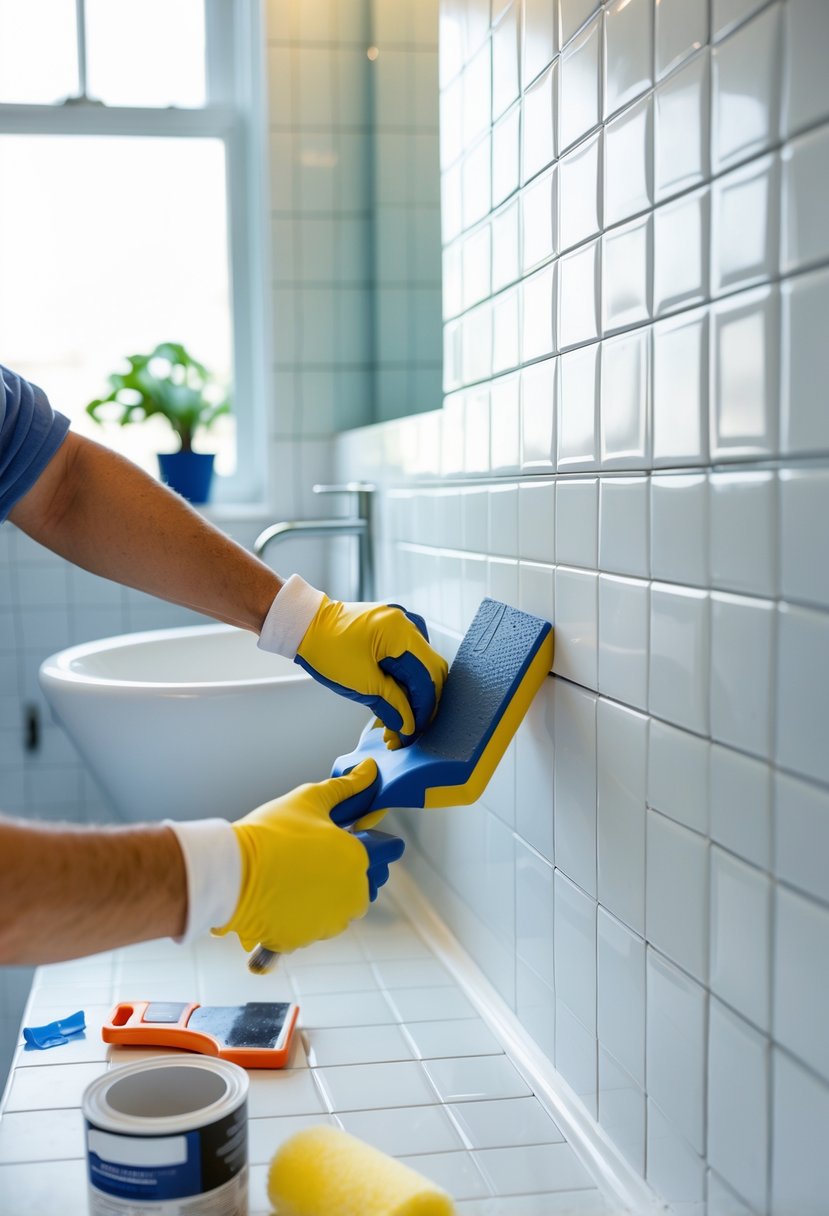
First, clean the tiles thoroughly with a heavy-duty cleaner to remove soap scum and grease. This step is important for the paint to stick well.
Next, sand the tiles lightly using fine-grit sandpaper. This roughens the smooth surface, helping the paint adhere better.
Then, apply a primer designed for glossy surfaces or tile. Use a brush or roller and let it dry completely.
Finally, paint with a waterproof epoxy or latex paint made for bathrooms. Use a roller for large areas and a brush for edges. Apply 2-3 coats, letting each dry fully before the next.
Installing Waterproof Wall Panels
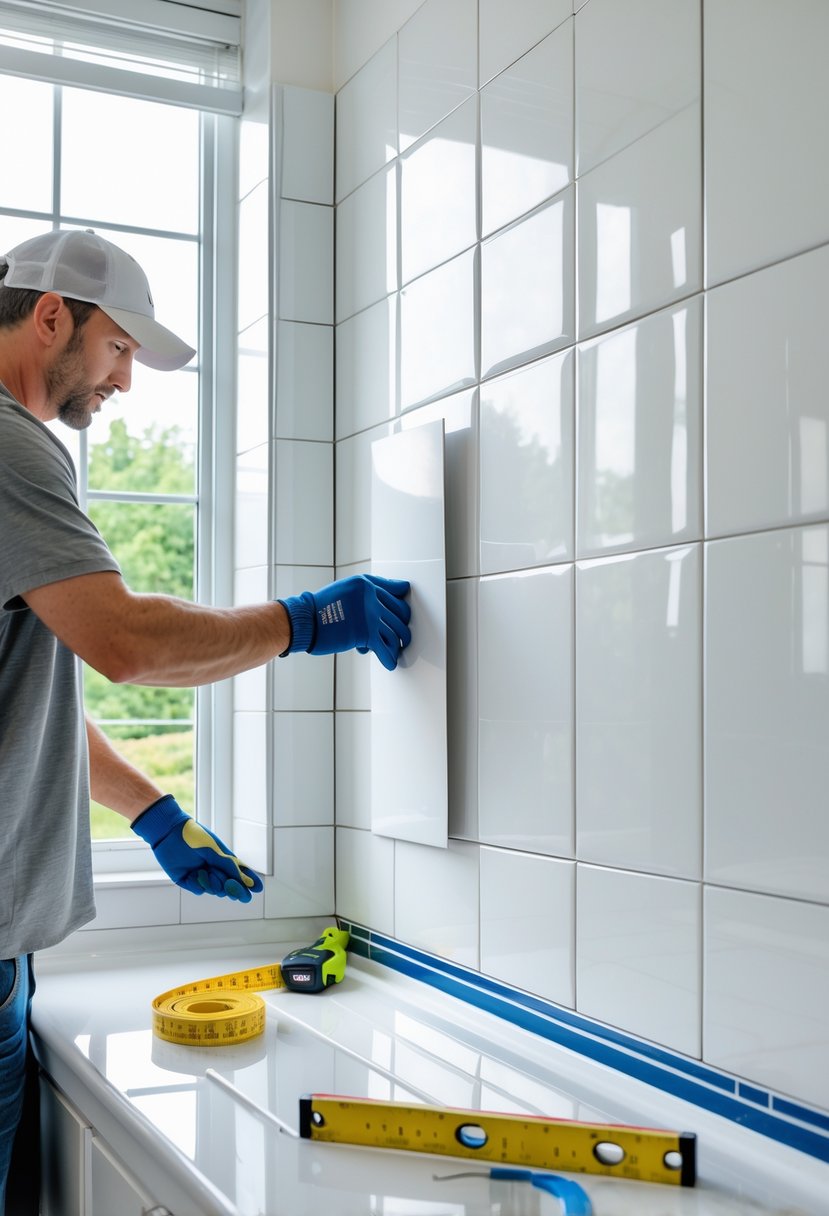
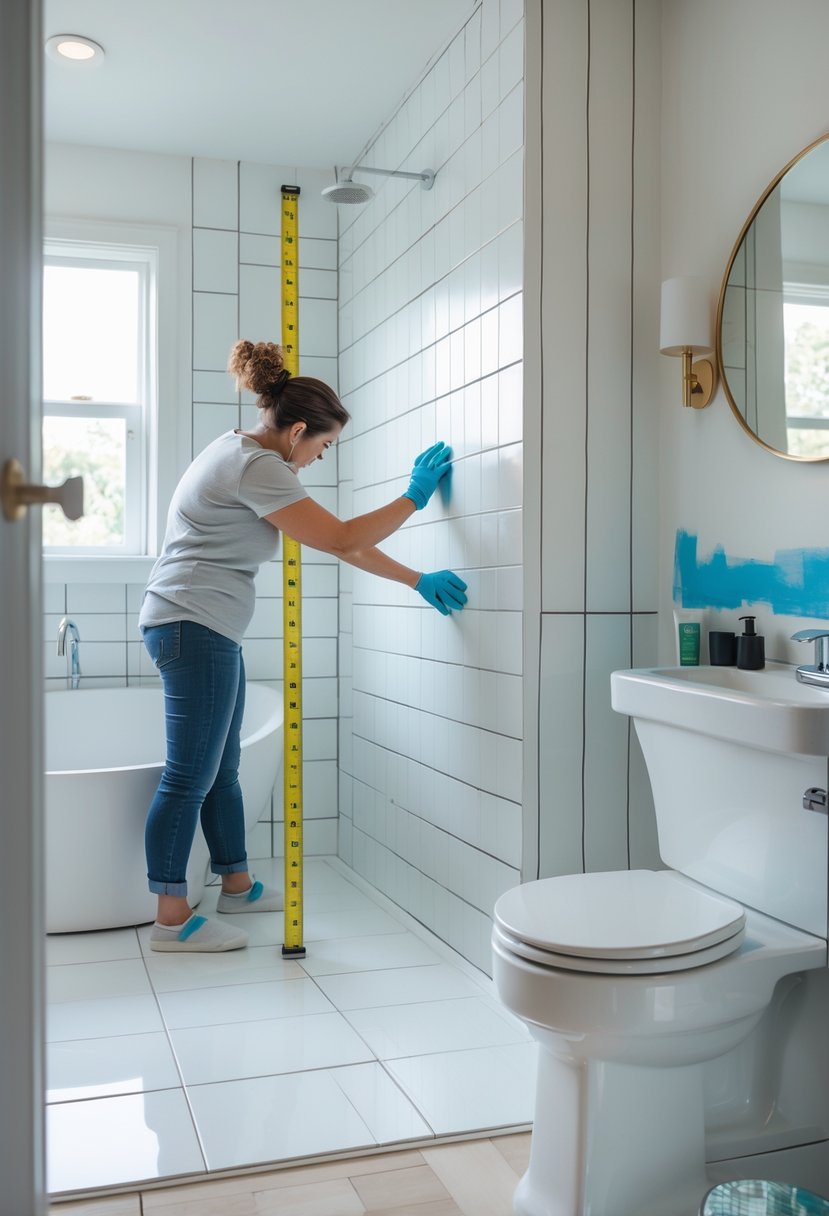
Start by measuring the tile area carefully. Cut the panels to size with a saw or utility knife.
Make sure the tile surface is clean and dry. Panels need a flat surface, so fill any deep grout lines with waterproof filler.
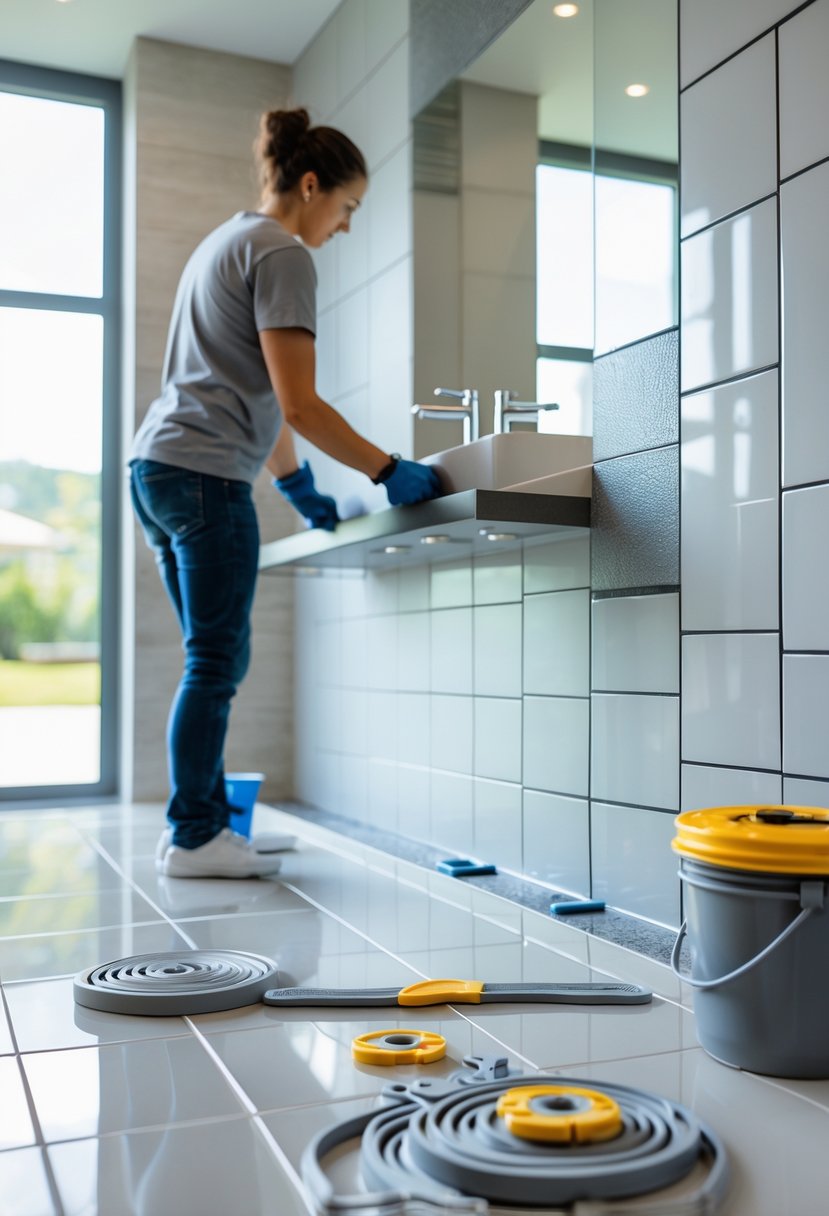
Apply construction adhesive or panel adhesive to the back of the panels. Press them firmly onto the wall, starting from the bottom.
Use silicone sealant on all seams and edges to prevent moisture from seeping behind the panels.
Panels are grout-free, making them easier to maintain in wet areas like showers.
Applying Peel-and-Stick Tiles
Begin by cleaning the tile surface with a non-oily cleaner. The surface must be dry and dust-free for the adhesive to work.
Measure and cut the peel-and-stick tiles to fit your wall using scissors or a utility knife.
Peel off the backing and press each tile firmly onto the existing tile. Use a roller or your hand to smooth out air bubbles.
Work slowly, aligning tiles evenly. Some peel-and-stick tiles come with a design; pay close attention to patterns.
This method is quick and does not require special tools or drying time, but the adhesive may weaken over time in very humid areas.
Design Considerations and Maintenance
When covering bathroom tile walls, the choices you make in color and pattern affect the room’s look and feel. I also focus on how to keep the new surface clean and durable over time. These factors help ensure the upgrade lasts and stays attractive.
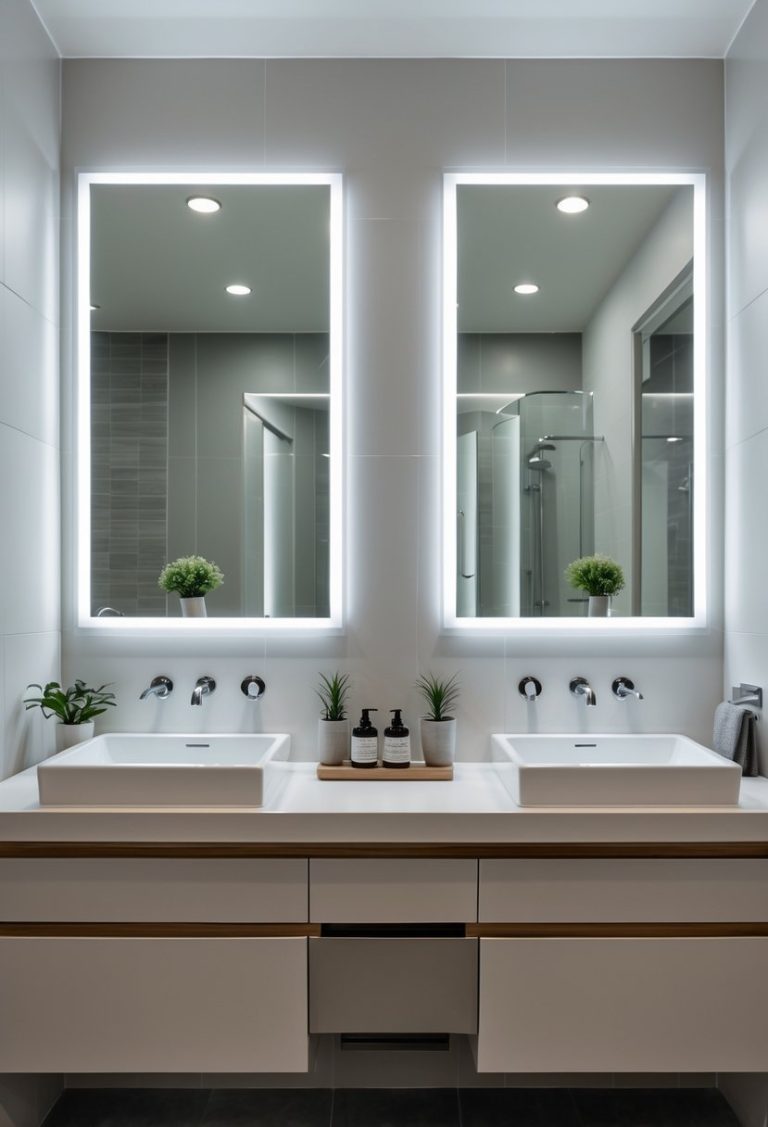
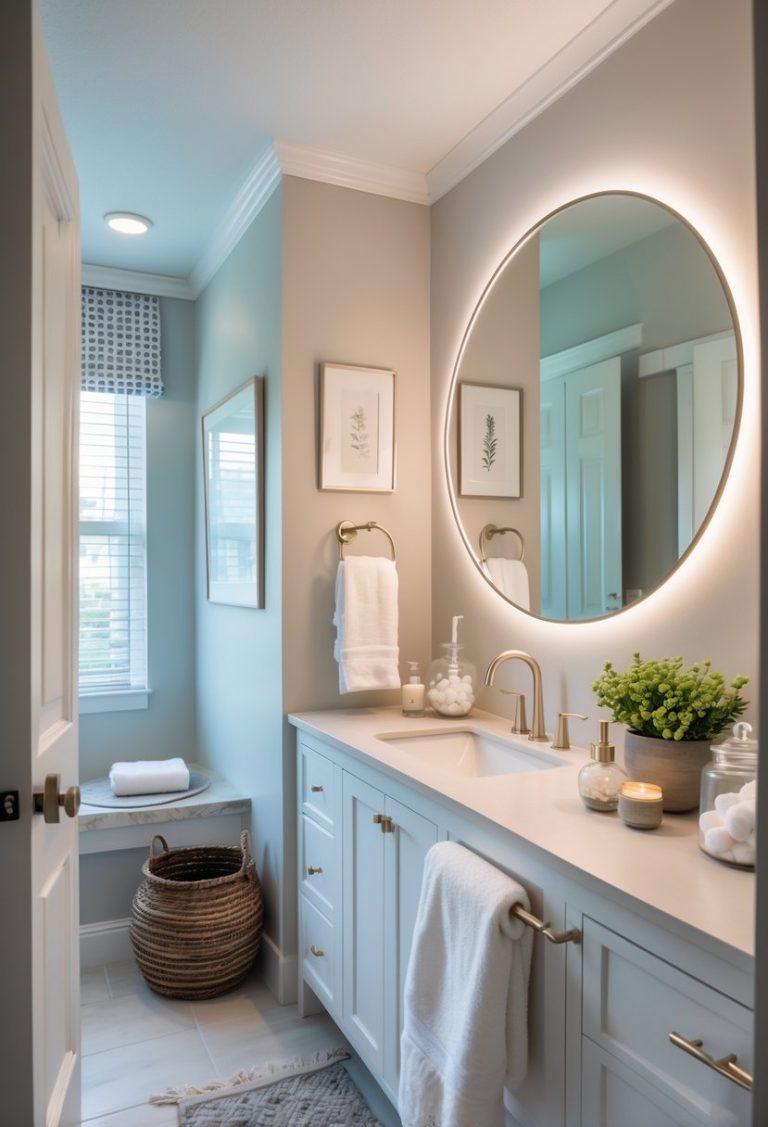
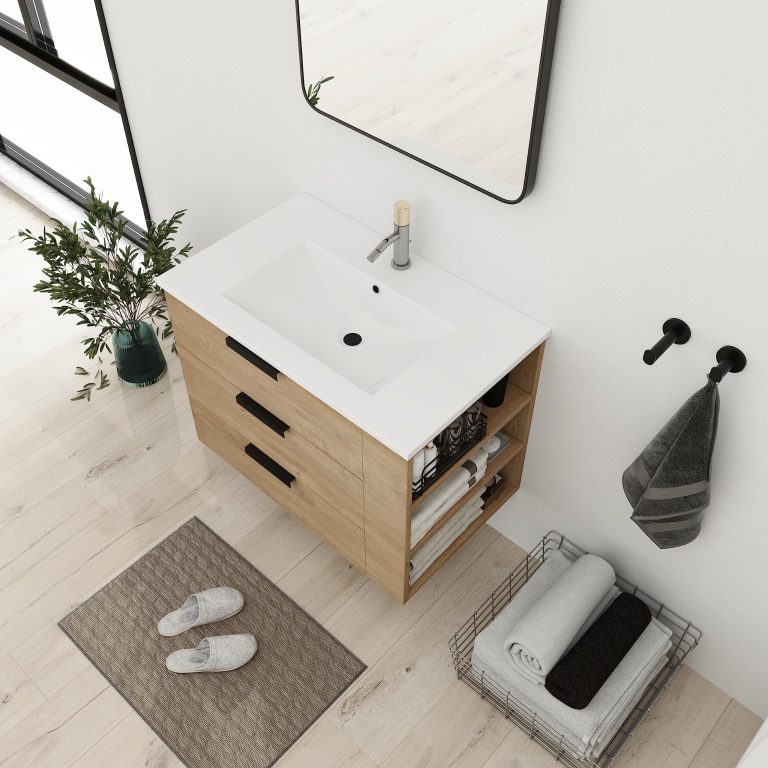
Choosing Colors and Patterns
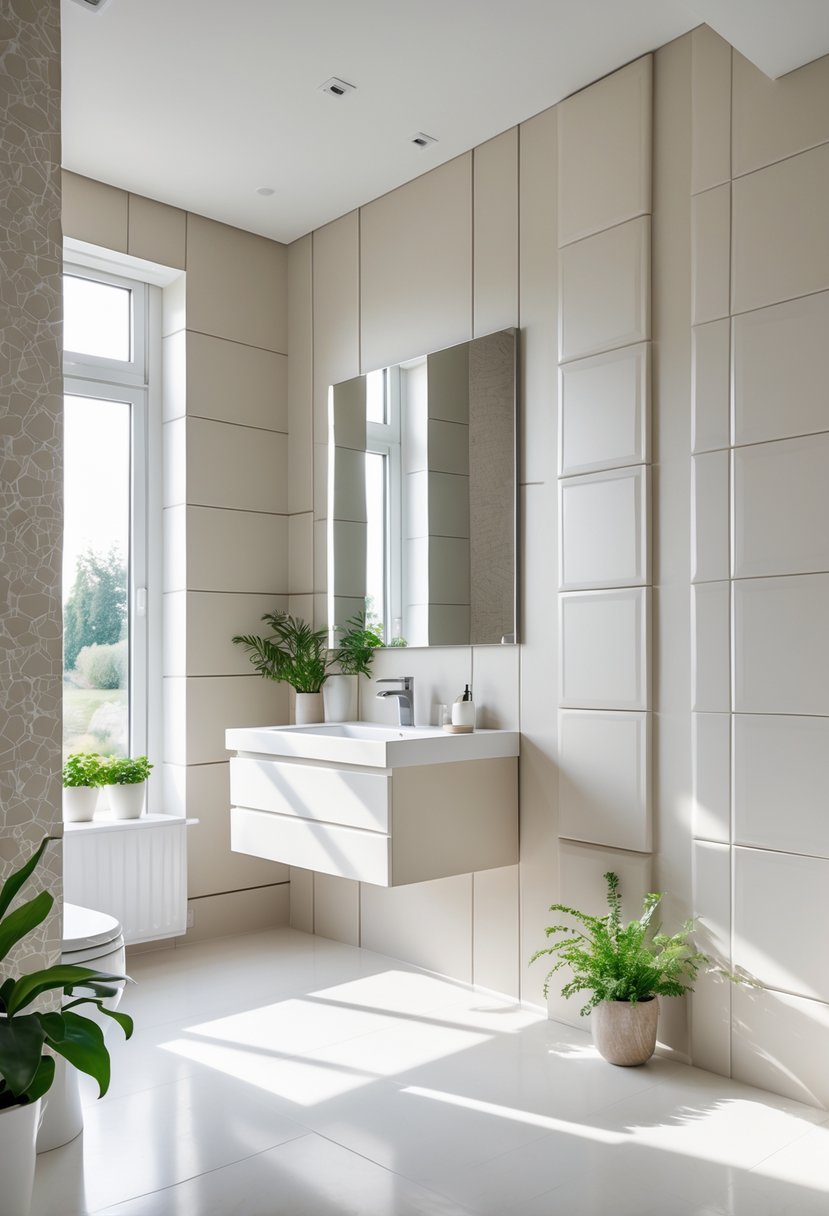
I pick colors that fit the size and lighting of the bathroom. Light colors like white, beige, or pastels make small bathrooms feel bigger. Dark colors work well in larger spaces for a bold look.
Patterns can change the style quickly. Simple patterns suit modern styles, while floral or vintage designs fit classic bathrooms. I avoid very busy patterns because they can make the space feel crowded.
Materials like peel-and-stick tiles or panels come in many finishes, from matte to glossy. I choose based on the style I want and how much maintenance I am willing to do. It’s smart to match new coverings with fixtures like faucets or mirrors for a balanced look.
Long-Term Care and Cleaning Tips
I clean covered tiles regularly to prevent buildup from soap or mildew. Most peel-and-stick tiles or wall panels only need wiping with a damp cloth and mild detergent. Avoid harsh scrubbing or abrasive tools, which can damage surfaces.
Using waterproof panels is a plus because they resist moisture better. Still, I watch for any peeling edges or cracks and fix them quickly to avoid water damage.
Ventilation helps keep the walls dry. I run the bathroom fan during and after showers. Proper airflow reduces mold and keeps the walls fresher longer.
| Maintenance Task | Recommended Frequency | Tips |
|---|---|---|
| Wipe down surfaces | Weekly | Use mild soap and soft cloth |
| Check edges for peeling | Monthly | Re-adhere or replace if needed |
| Ventilate bathroom | After every shower | Use fan or open window |