How to Paint Bathroom Tile for a Durable and Professional Finish
Painting bathroom tile is a simple way to update your space without spending a lot on a full remodel. You can give old tiles a fresh look by properly cleaning, priming, and using the right paint designed for tile surfaces. This process takes some effort but can transform your bathroom quickly and affordably.

I’ve learned that preparation is key. Making sure the tiles are clean and smooth before painting helps the paint stick better and last longer. I’ll walk you through each step to get a neat, durable finish that looks professional.
Preparing Bathroom Tile for Painting
Before painting, you need to be sure the tiles are a good fit for the job. Next, cleaning, fixing, and roughening up the tile surface are key steps. These ensure the paint sticks well and lasts.
Choosing Suitable Tiles for Painting
I focus on glossy, smooth ceramic or porcelain tiles because they are common and paintable. Tiles that are cracked, loose, or very worn are poor candidates because paint won’t stick properly or hide damage.
Matte tiles or textured surfaces can be painted too, but they require more preparation. Avoid natural stone tiles like marble or granite. Their porous nature makes paint prone to peeling and discoloration.
In short, I select tiles in good shape, with smooth and non-porous surfaces for the best results. If you’re unsure, test a small tile with primer and paint first.
Cleaning and Degreasing the Surface
Before painting, I clean tiles thoroughly using a mix of water and a strong cleaner or degreaser. This removes soap scum, oils, dirt, and mildew that can block paint adhesion.
I use a scrub brush or sponge to work cleaner into grout and corners. Rinse with clean water until no residue remains. Then, I allow the tiles to dry completely to prevent moisture trapping beneath the paint.
Avoid oily or waxy cleaners because they leave a film that repels paint. Proper cleaning is one of the most important steps to avoid peeling later.
Repairing Cracks and Grout Lines
I inspect grout lines and tiles for cracks or chips before painting. I fill gaps and cracks with a quality epoxy or acrylic grout filler. Smooth the filler flush with the tile surface for a clean look.
For deeper cracks in the tile, I use a tile repair kit designed to bond and fill damage. This prevents cracks from showing through the paint or causing it to chip.
If grout is crumbling or loose, I remove it and reapply new grout. Good repairs stabilize the surface, making paint application easier and final results stronger.
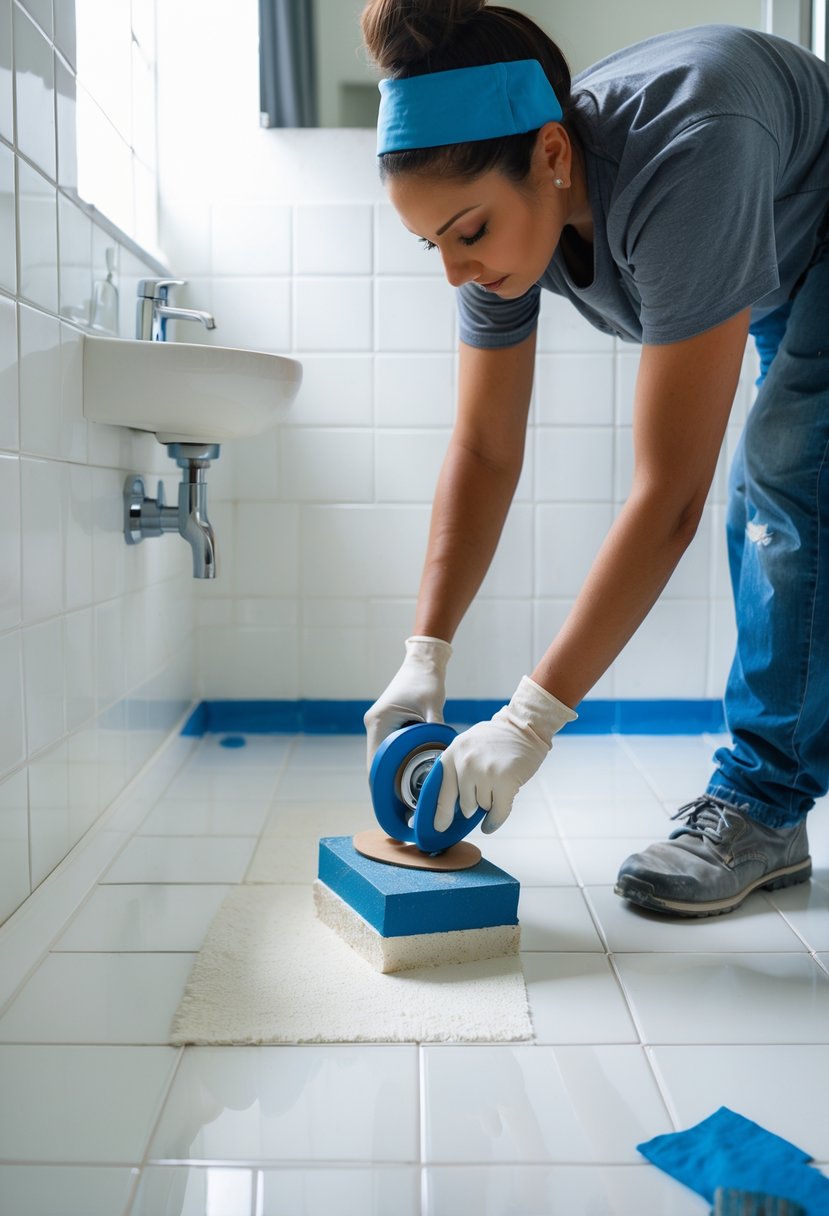
Sanding and Etching Tile Surfaces
Since tile surfaces are slick, I always sand or etch them lightly to help paint stick. I use a fine-grit sandpaper (around 220 grit) or sanding sponge to roughen the tile’s surface.
Sanding reduces the gloss and creates small scratches for primer and paint to grip. I wipe away dust completely with a damp cloth after sanding.
For stubbornly glossy tiles, I sometimes apply a chemical etching product. This slightly alters the tile’s surface chemically and improves paint adhesion. If using an etcher, I follow product instructions carefully and rinse well.
Without sanding or etching, paint can easily peel or chip off when the tiles get wet or cleaned.
Selecting Paints and Primers
I focus on paints and primers that stick well and hold up in wet conditions. Picking the right type and quality helps make the job last. Moisture resistance is key because bathroom tiles face steam and water daily.
Types of Paint for Tiles
I use epoxy and latex paints for bathroom tiles. Epoxy paint is tough, water-resistant, and good for ceramic or porcelain tiles. It holds up well against moisture and cleaning.
Latex paint works too, especially if it’s designed for tiles. It’s easier to apply and clean. But it may not last as long as epoxy in high-moisture areas.
I always avoid regular wall paint because it won’t stick well or resist water. Gloss or semi-gloss finishes are better since they repel water and clean easily.
Recommended Primers for Bathroom Environments
Priming is essential for paint to stick well on bathroom tiles. I pick bonding primers made for ceramic or porcelain tiles. These primers create a strong base and reduce peeling or flaking.
Look for primers labeled as moisture-resistant. Some are specially formulated for bathrooms or kitchens. These help protect the tile surface and improve paint adhesion.
I apply primer in a thin, even layer using a brush or roller. Let it dry completely before painting. Skipping primer can cause the paint to peel sooner.
Factors to Consider for Moisture Resistance
Moisture is the biggest enemy when painting bathroom tiles. I make sure the paint and primer can handle steam, splashes, and humidity.
Sealing grout lines before painting helps prevent water damage underneath. Also, I check for good ventilation to reduce moisture buildup.
Using paints and primers labeled for wet areas ensures the finish lasts. Avoid products not meant for bathrooms because they may blister or peel quickly.
Step-by-Step Tile Painting Process
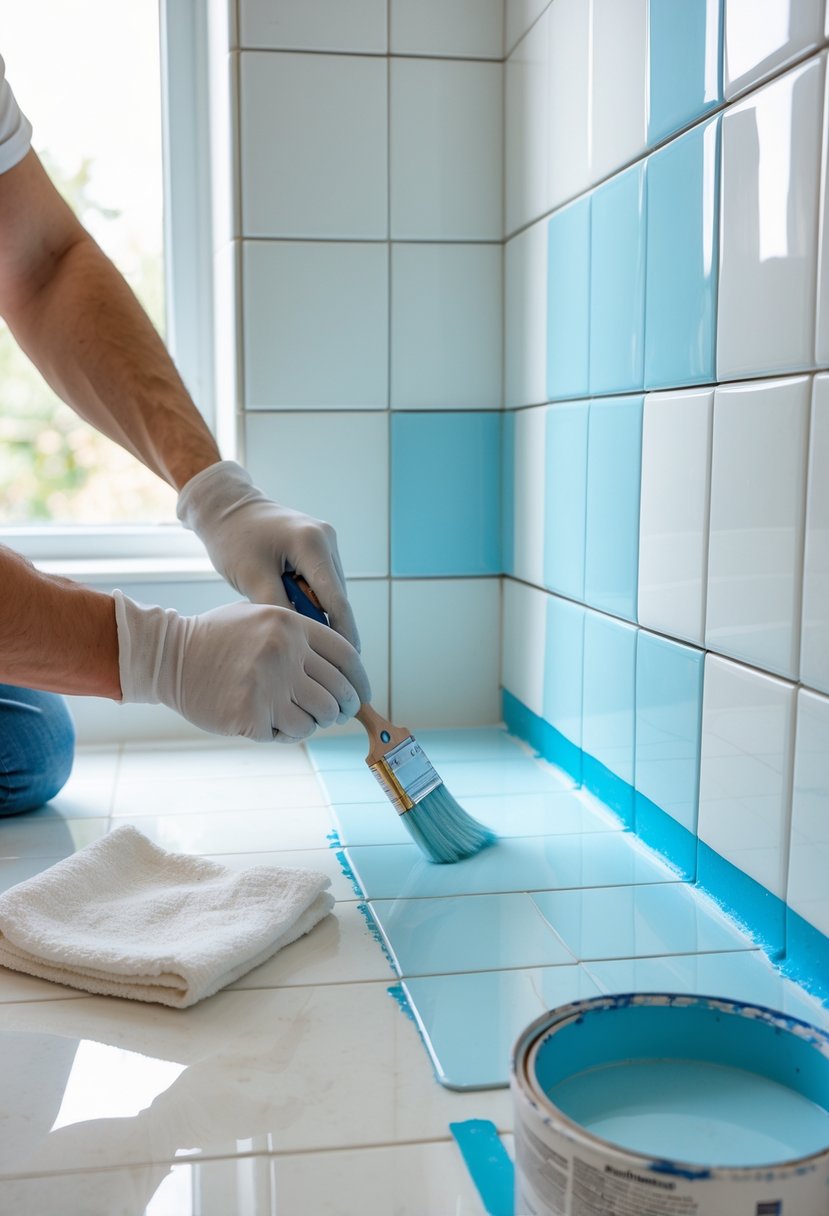
To get good results, I carefully prepare the areas around the tiles, apply a suitable primer, use proper painting methods, and allow enough drying time between coats. Each of these steps helps the paint stick better and last longer.
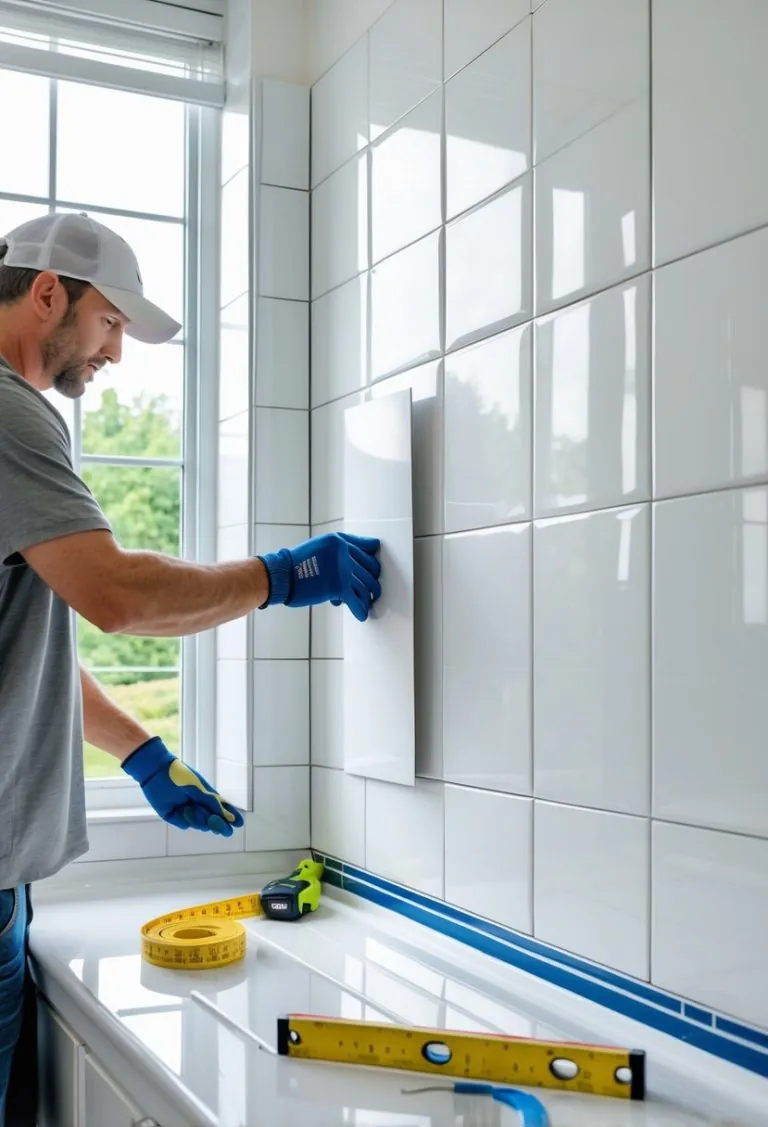
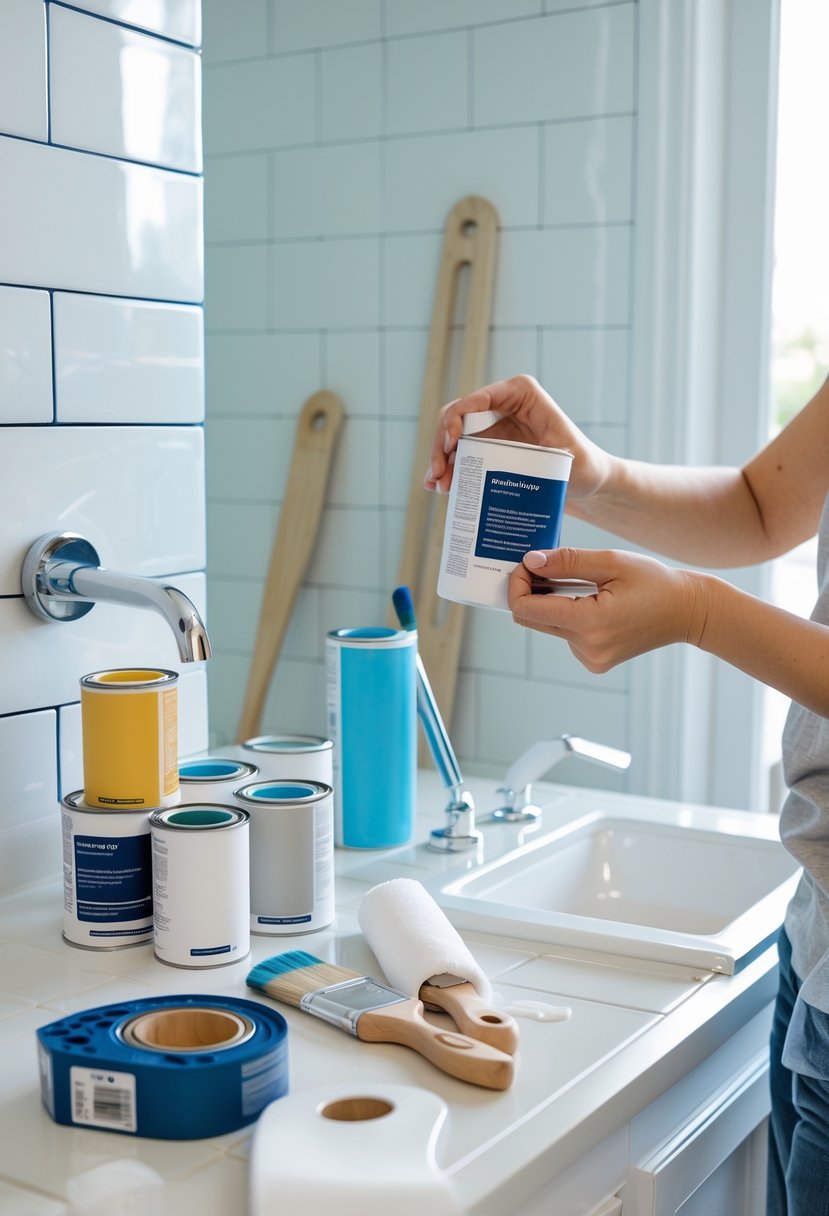
Taping and Protecting Surrounding Areas
Before I start painting, I make sure to tape off all parts that won’t be painted. I use painter’s tape to cover edges around the tiles, like baseboards, walls, and fixtures. This keeps paint from getting on surfaces where I don’t want it.
Next, I lay down drop cloths or plastic sheets on floors and counters. This protects everything from drips or spills. Covering these areas carefully means a cleaner and easier cleanup after the job is done.
Applying Primer to Tiles
Primer is important because it helps the paint stick to the smooth tile surface. I choose a primer made for slick surfaces, usually a bonding primer or one labeled for tiles.
I apply the primer with a brush for edges and a small roller for flat tiles, making sure to spread it evenly. It’s key to avoid thick layers, so I use a light coat. After priming, I let it dry for the recommended time on the label, usually a few hours, before moving on to painting.
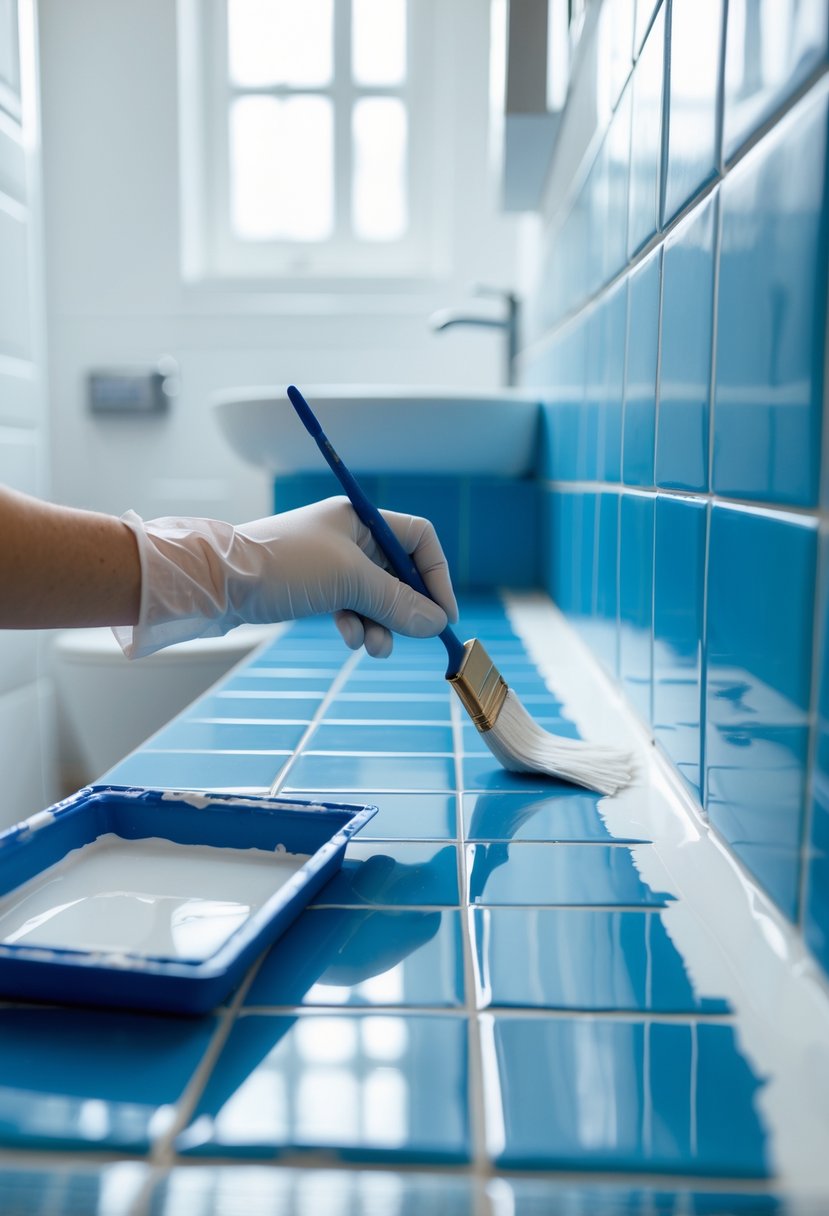
Painting Techniques for Even Coverage
For painting tiles, I prefer to use a high-quality latex paint designed for bathrooms. This paint handles moisture better. I start by rolling on a thin, even coat using a small foam roller to avoid brush marks.
For edges and grout lines, I switch to a fine brush to add detail. It’s important to keep the paint layer thin and uniform. Thick paint can peel or bubble later. I avoid overloading the roller or brush and use smooth, consistent strokes.
Drying Times and Additional Coats
After applying the first paint coat, I wait at least 5 to 6 hours for it to dry. If the surface still feels tacky, I give it a couple more hours. Testing dryness with a paper towel helps me decide when to apply the next coat.
Usually, two coats are enough for full coverage. I repeat the same careful painting process for the final coat and wait for it to dry fully before using the tiles. Proper drying time keeps the finish durable and smooth.
Caring for Painted Bathroom Tile
Proper care helps keep painted bathroom tiles looking good and lasting longer. I focus on gentle cleaning methods and timely repairs to protect the paint from moisture and wear.
Cleaning and Maintenance Tips
I clean painted bathroom tiles with a soft cloth or sponge and mild soap. Avoid abrasive cleaners or scrubbers because they can scratch or wear down the paint.
Wiping down the tiles regularly prevents buildup of soap scum and mildew. I always make sure the bathroom is well ventilated to reduce humidity, which can damage paint over time.
Using a gentle cleaner labeled safe for painted surfaces protects the finish. Avoid strong chemicals like bleach or ammonia, which can peel or fade the paint.
Touch-Ups and Damage Repair
If the paint chips or peels, I fix it quickly to stop damage from spreading. I lightly sand the damaged area, then clean it before applying a matching paint.
Using epoxy or latex paint designed for tiles keeps the repair durable in wet conditions. Sometimes multiple thin coats work better than one thick coat.
I allow enough drying time between touch-ups. If the damage is extensive, repainting the whole tile surface may be more effective than patching small spots.